Green Drain installation guide
Lift the grate, press it in, put the grate back. Under a minute, no tools. Still choosing a size? Measuring and the size chart are one scroll down.
Four steps. No tools. Under a minute.
Every model installs the same way, from the smallest fixture drain to the largest industrial floor drain. The only thing that changes is the size you press in. Not sure of the size yet? Measure first.
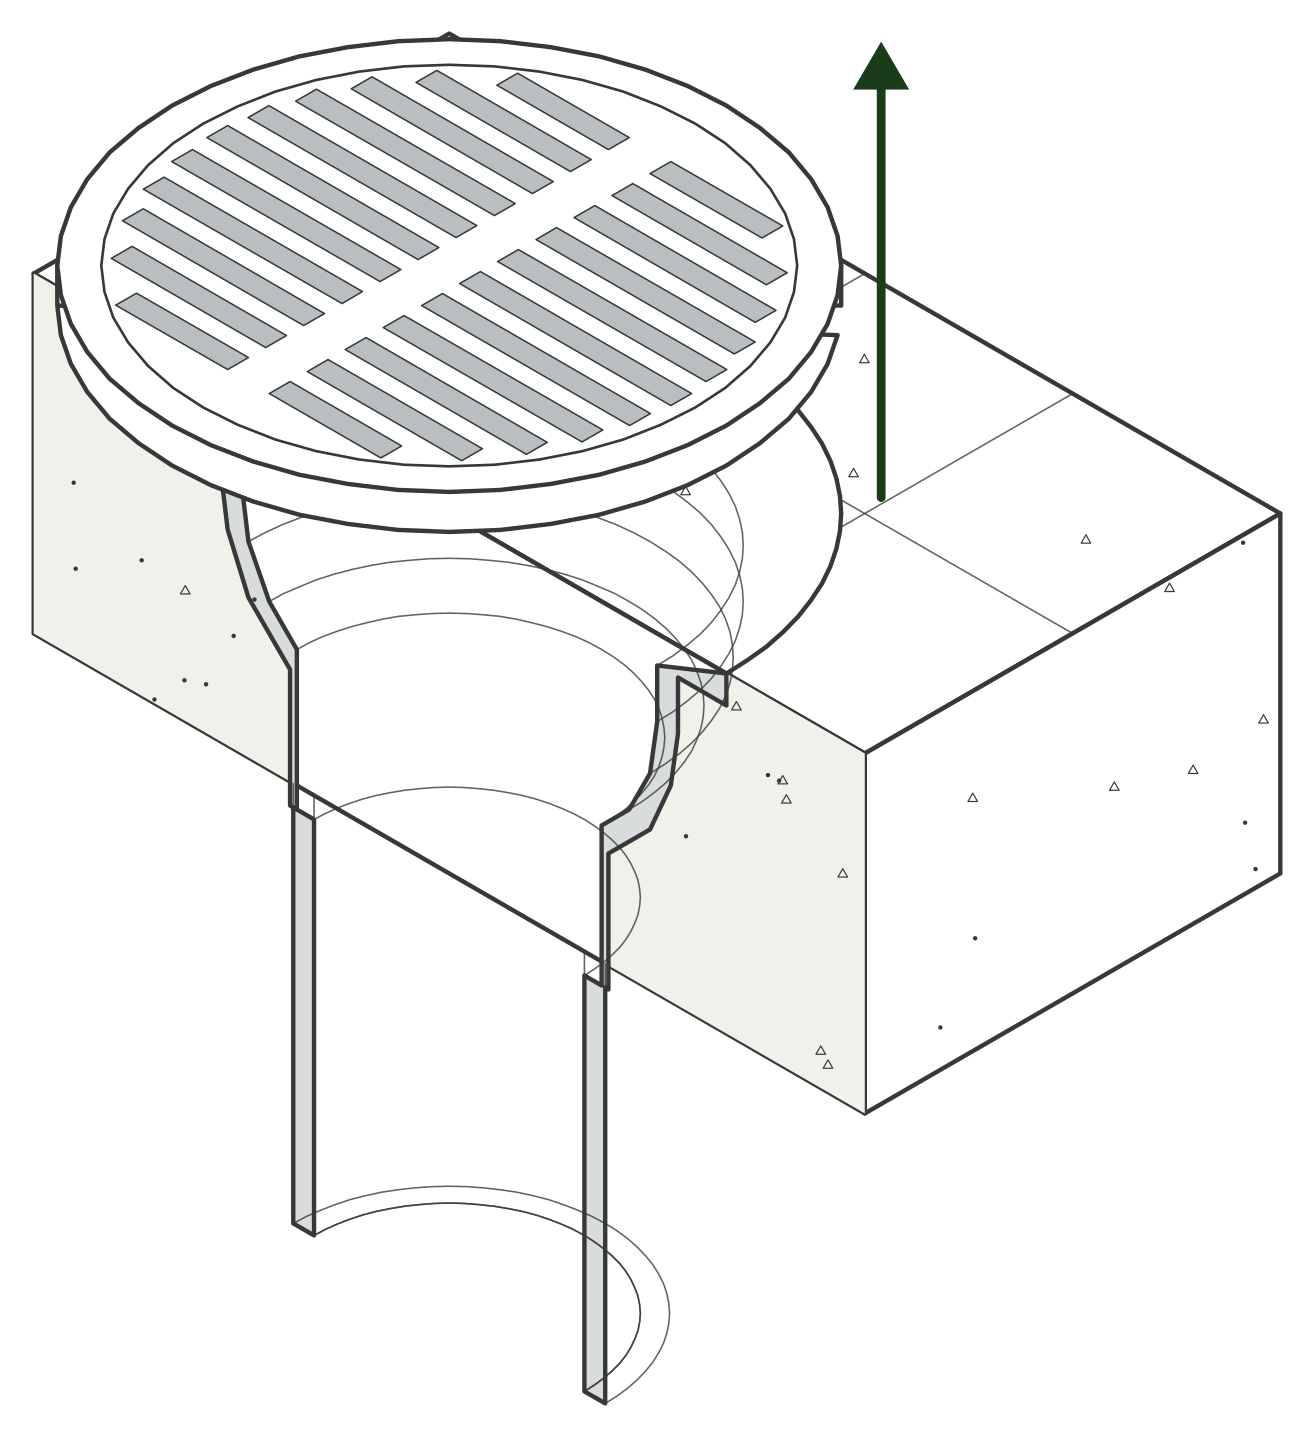
Lift the grate
Most grates lift straight out by hand. Some are held by one center screw; back it out, then lift. Take out any basket or strainer, and if the drain has not seen water in a while, flush it first to clear debris from the pipe.
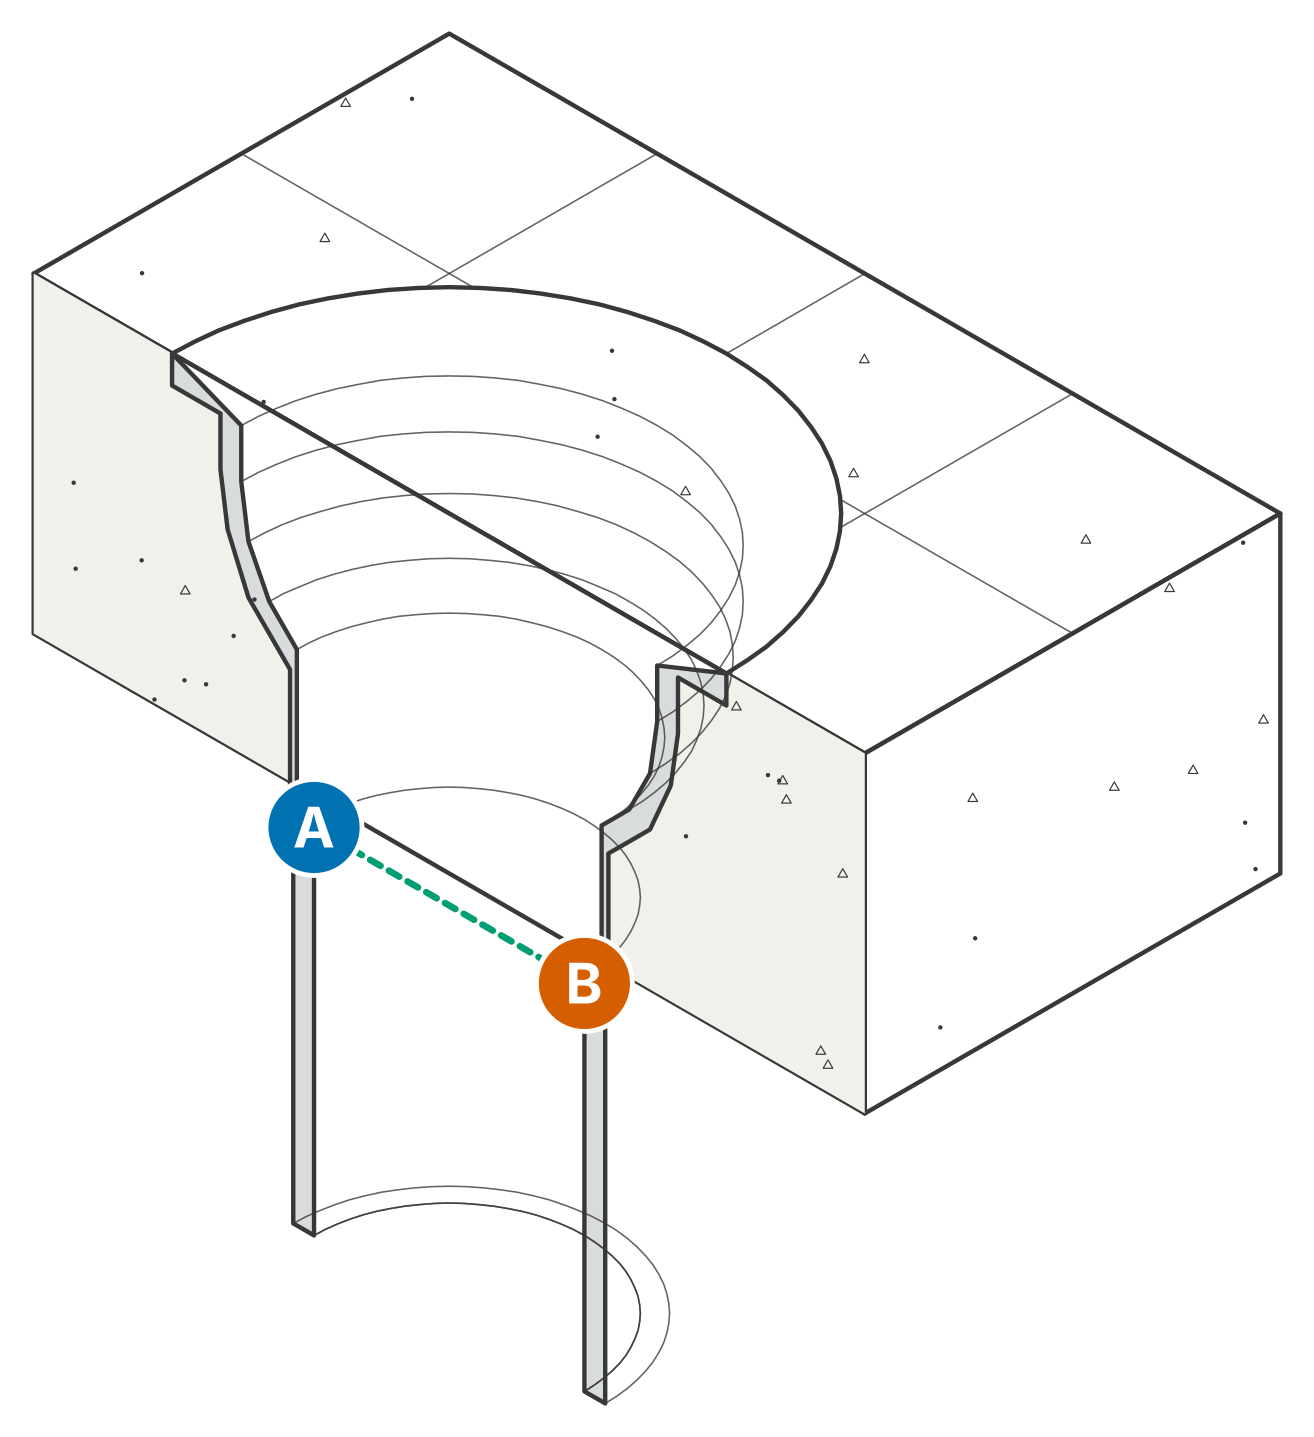
Measure the opening
Measure the pipe opening at the bottom of the bowl, inside wall to inside wall, and match it to the size chart. If you already have the Green Drain in hand, check its window against the reading before you press it in.
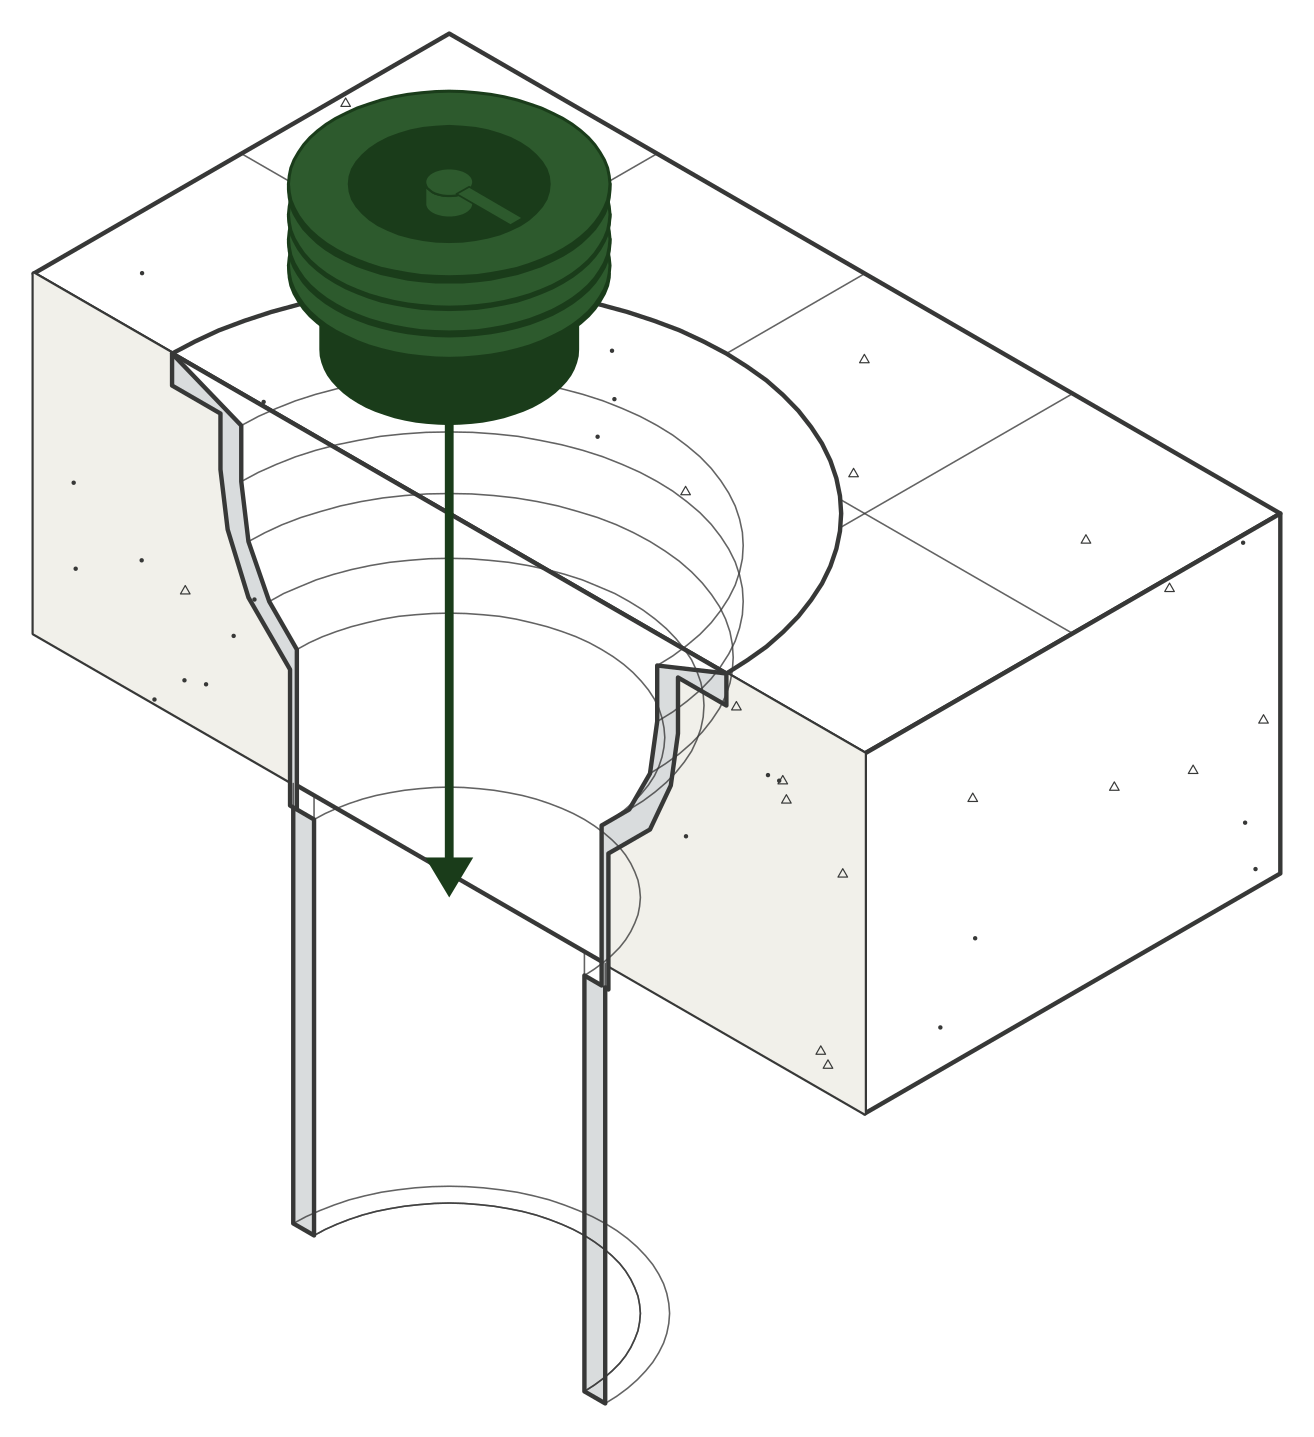
Press it in
Skirt first, push the Green Drain into the pipe by hand until it sits 2 to 4 inches (50 to 100 mm) below the top of the pipe. The silicone gasket creates a snug seal against the pipe walls. No adhesive, no sealant.
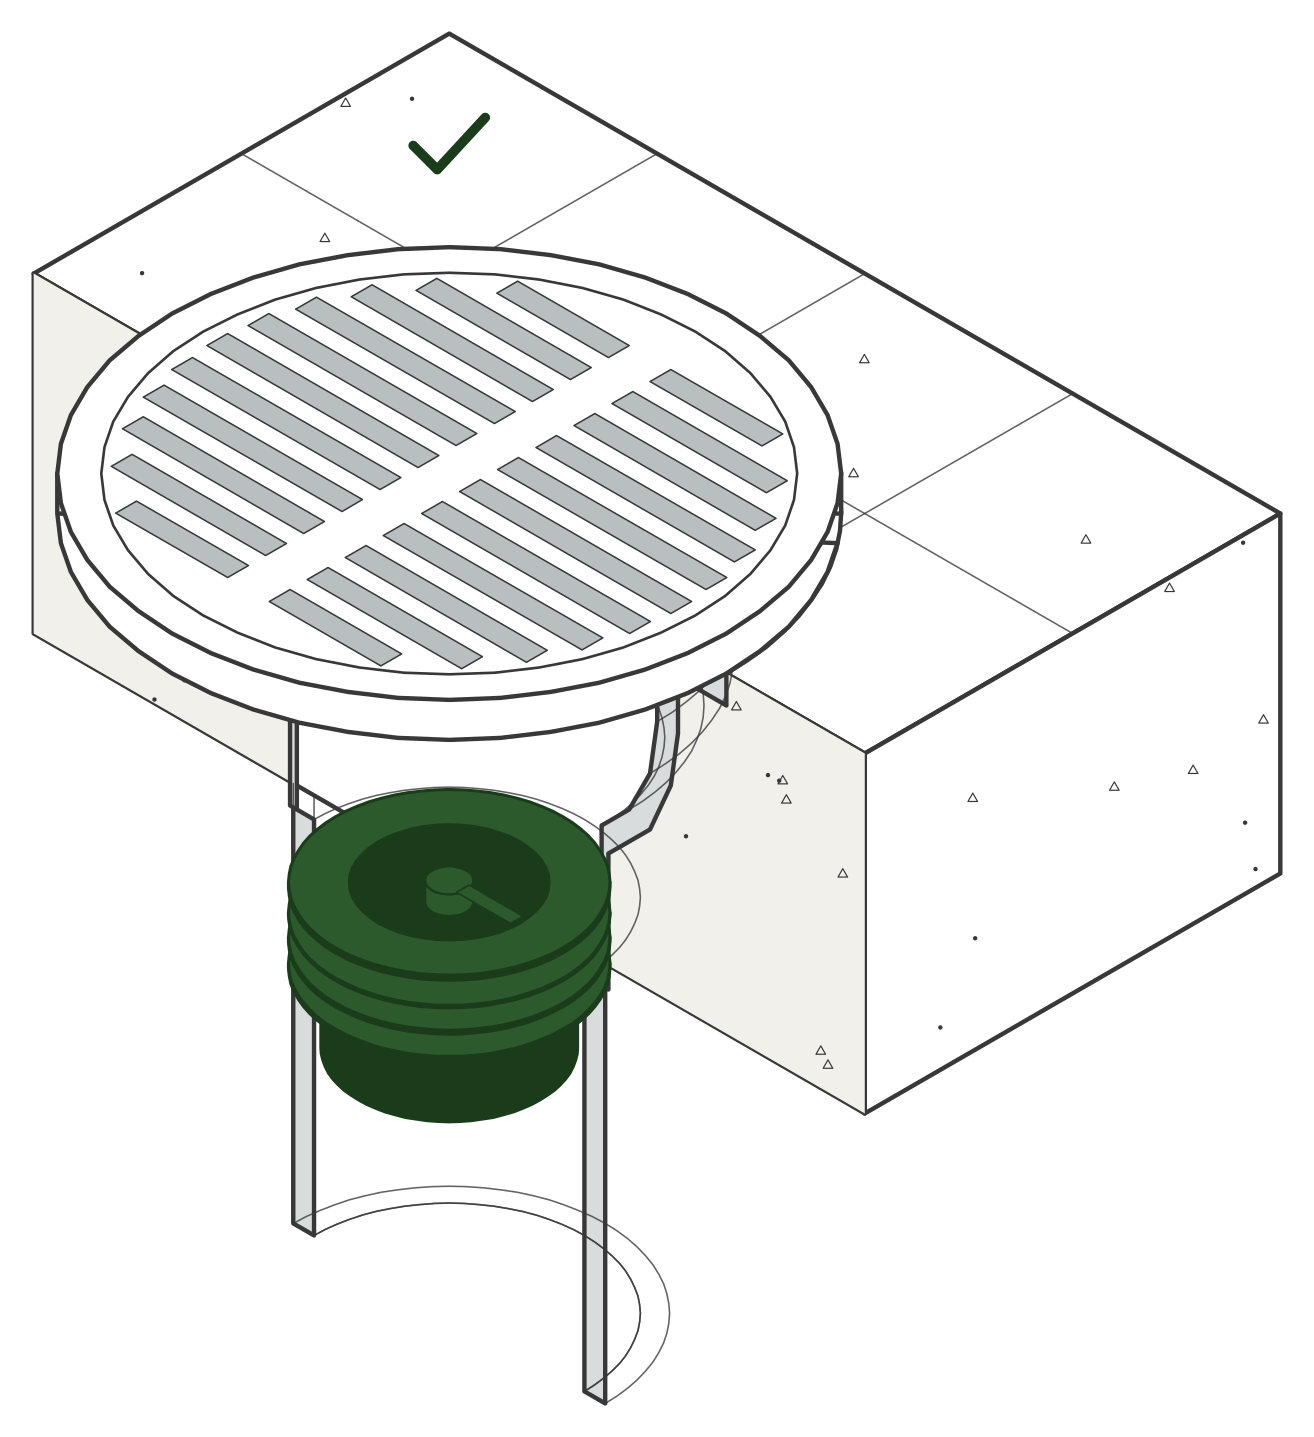
Replace the grate
Put the grate back. If it has a center screw, run it back in. Done. The seal sits inside the pipe, so the grate fits exactly as it did before, and a full commercial floor takes an afternoon.
Measure the pipe. Not the grate, not the bowl.
Lift the grate. At the bottom of the drain body is a round pipe opening. Measured across its center from inside wall to inside wall, that is the only number that matters. Match that reading to the size chart below. Two drains with the same grate can have different pipes underneath, which is why the grate tells you nothing.

Don't measure the grate
The grate is the cover you walk on. It sits on top of the drain body and is wider than the pipe underneath, so its width tells you nothing about fit.
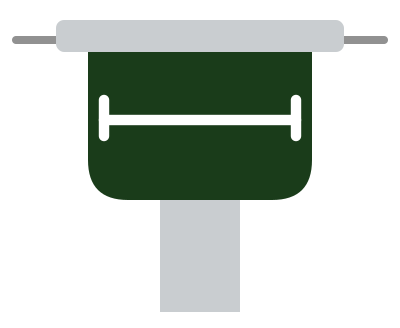
Don't measure the bowl
The bowl is the basin under the grate that funnels water down. It is wider than the pipe too. The Green Drain does not sit here.
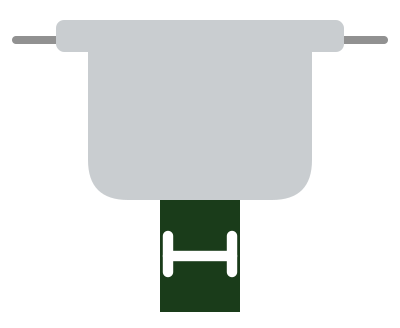
Measure the pipe
At the bottom of the bowl is the round pipe opening. This is where the Green Drain seats, so this is the width to measure. Wipe it clean, then measure inside wall to inside wall.

Take the reading twice, at right angles to each other. If they differ, the opening is oval: use the smaller one. If there is a ledge inside the pipe, measure above it, where the seal will sit.
In the field, the measuring tool keychain has a cutout for every size, so you can read the model straight off the drain.
That reading is all you need. The size chart below turns it into a model.
Size chart: match the reading to a model.
Each Green Drain seats in a window of pipe widths. Find the row your measurement falls in. The inch figure is the pipe's nominal size, which is a label, not the number you measured, so go by the millimeter window.
| Model | Pipe opening, inside wall to inside wall | Nominal size | Typical drains | Link |
|---|---|---|---|---|
| GD125 | 32 to 38 mm | 1.25" | Sink and fixture drains, condensate lines | View GD125 |
| GD15 | 39 to 47 mm | 1.5" | Shower and laundry drains, small fixtures | View GD15 |
| GD2 | 51 to 59 mm | 2" | Shower drains, small floor drains | View GD2 |
| GD25 | 55 to 65 mm | 2.5" | Mid-size floor drains | View GD25 |
| GD3 | 68 to 81 mm | 3" | Standard floor drains, commercial restrooms | View GD3 |
| GD35 | 89 to 95 mm | 3.5" | Larger floor drains, commercial kitchens | View GD35 |
| GD4 | 99 to 107 mm | 4" | Large floor drains, mechanical rooms, kitchens | View GD4 |
| GD5 | 125 to 133 mm | 5" | Industrial floor drains | View GD5 |
| GD6 | 149 to 157 mm | 6" | Large industrial floor drains | View GD6 |
| International models, by quote: for openings between the sizes above | ||||
| GD3/35 | 77 to 95 mm | 3 to 3.5" | Openings that fall between the GD3 and GD35 windows | View GD3/35 |
| GD35/4 | 89 to 108 mm | 3.5 to 4" | Openings that fall between the GD35 and GD4 windows | View GD35/4 |
Every window is the inside width of the pipe opening, measured across its center. Nominal pipe sizes are how plumbers name pipe; the actual inside width varies by material and age, which is why the windows overlap and why you measure rather than guess.
On the edge of two windows? Both models seat in that pipe; the windows overlap on purpose. A reading that falls in no window at all means none of the models is made for that pipe.
The grate shape does not matter. The pipe under it does.
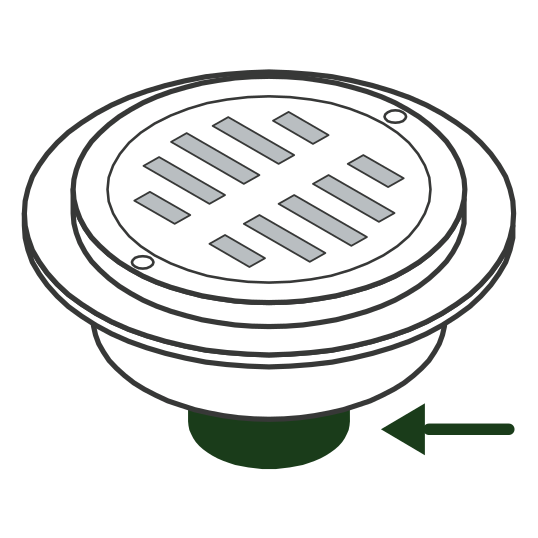
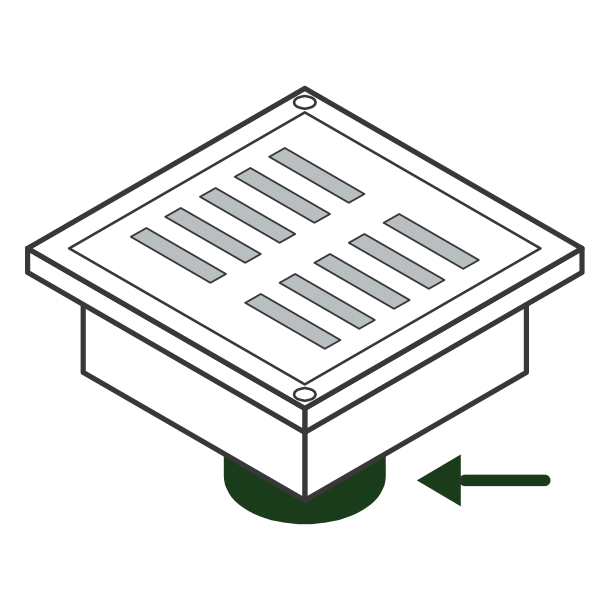
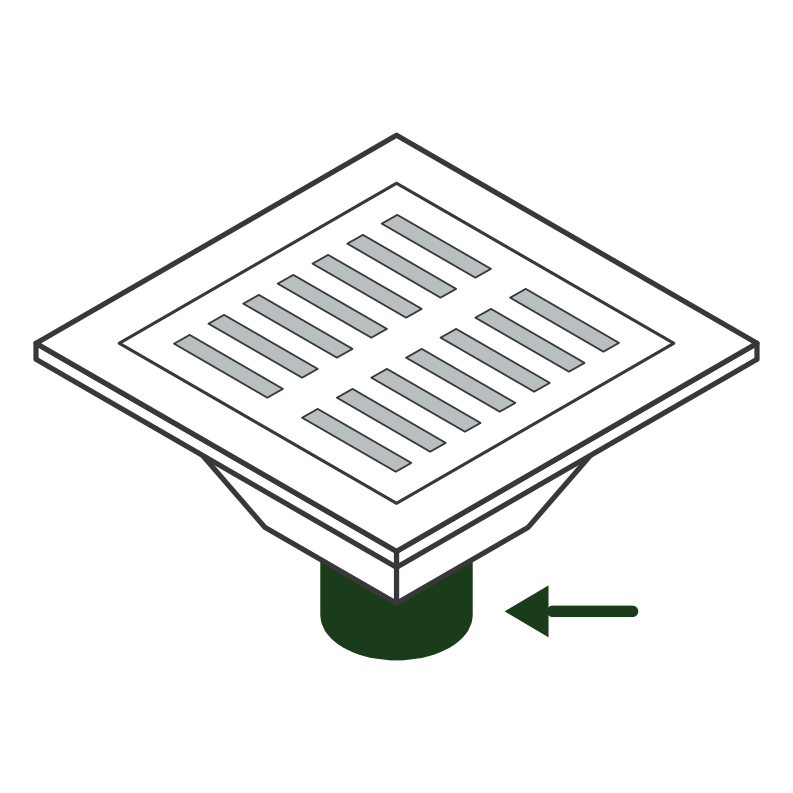
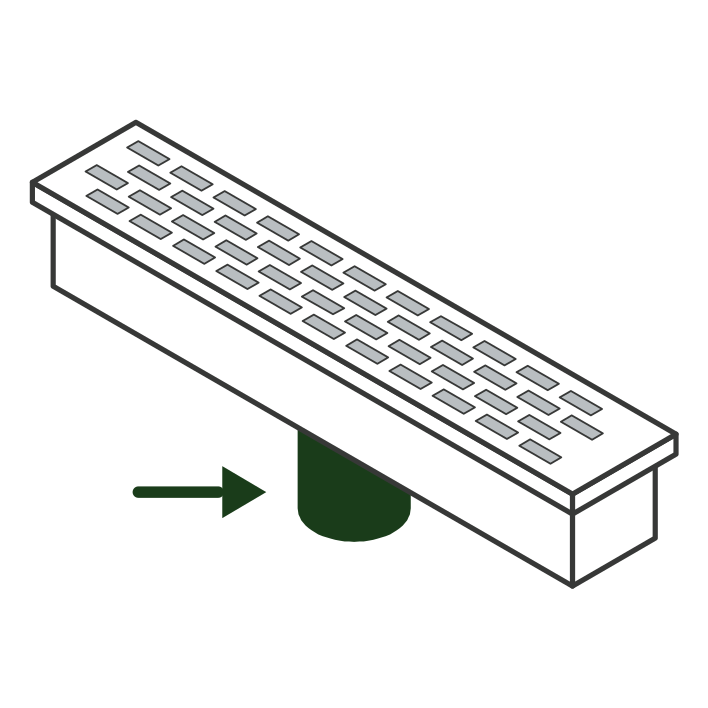
Any floor drain whose outlet is a round pipe in one of the windows above. Remove any basket or strainer from the bowl first. Shower and sink drains work the same way: lift the strainer, measure the pipe.
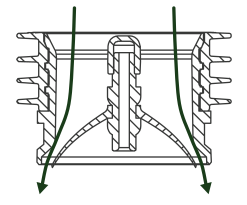
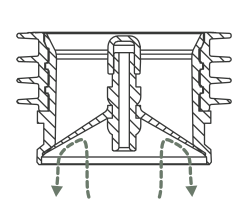
One-way. Opens for water going down, closes when the flow stops. No water to top up, no power, nothing to prime. Your P-trap stays where it is; the Green Drain covers for it when the water in it evaporates.
Inspect the seal around 6 to 12 months in service and replace only as needed. It lifts out by hand, or with the extraction tool, and a new one drops in the same way.
Tips by drain type
The method is the same everywhere. A few things change by where the drain is.
Floor Drains
The most common install. Lift the grate, measure the pipe, press it in. If the drain has not been used in a while, flush it with water first to clear any debris from the pipe.
Usually GD2 to GD6Shower Drains
Shower drains are usually 1.5 or 2 inch pipe. Lift the strainer cover and any hair basket before measuring. The Green Drain sits below the strainer, so water and soap flow through as normal.
Usually GD15 or GD2Commercial Kitchen Drains
Kitchen floor drains and floor sinks see grease and food solids. Remove the basket before measuring, and rinse the drain with hot water now and then to keep the skirt clean and moving freely.
Usually GD3, GD35 or GD4Mechanical and Utility Rooms
Condensate lines, boiler rooms and utility closets have drains that go months without water, so their P-traps dry out first. These are the drains to do first, and the smaller models cover the fixture-size pipes.
Usually GD125 to GD3Restroom Floor Drains
Mopped often, but the trap can still dry out between cleanings. The Green Drain keeps sewer gas and pests below regardless of the water level in the trap.
Usually GD2, GD3 or GD4Basement and Storage Drains
Seldom-used drains in basements and storage rooms are the most likely to have a completely dry trap. Install here first for immediate odor and pest protection.
Usually GD3 or GD4Watch the install
A 2 inch Green Drain going into a standing shower drain in real time, from lifting the grate to putting it back.
No fast-forwarding. The whole thing takes less than 60 seconds.
Frequently Asked Questions
How do I know which size to order?
Lift the grate and measure the round pipe opening at the bottom of the drain, across its center from inside wall to inside wall. That reading, and only that reading, picks the size. Match it to the size chart on this page. If the reading sits close to the edge of a window, measure once more at right angles to the first and use the smaller of the two.
Why not measure the grate?
The grate and the bowl under it are both wider than the pipe. The Green Drain seats in the pipe, so the pipe opening is the only width that matters. Two drains with the same grate can have different pipes underneath.
What if my measurement falls between two sizes?
If the opening is oval, use the smaller reading. Two international models, the GD3/35 (77 to 95 mm) and the GD35/4 (89 to 108 mm), cover the gaps between the 3, 3.5 and 4 inch sizes and are available by quote. A reading that falls in no window at all means none of the models is made for that pipe.
How deep should Green Drain sit in the drain?
Push it in until it sits 2 to 4 inches (50 to 100 mm) below the top of the pipe. The silicone gasket holds it against the pipe walls, and the grate goes back on exactly as before. Nothing shows from above.
Do I need a plumber or any tools?
No. Lift the grate, measure, press the Green Drain in by hand, and put the grate back. There is nothing to wire, prime, glue or top up. Facility staff, property managers and homeowners install it themselves.
Do I need a permit?
In most jurisdictions, no. Green Drain sits inside an existing drain and removes by hand, so it is not a permanent plumbing alteration. Codes vary by location; if you are working in a commercial facility or are unsure, check with your local authority having jurisdiction.
Does the shape of the grate matter?
No. Round, square, floor sink or trench, the Green Drain fits any floor drain whose outlet is a round pipe in one of the size ranges. Remove any basket or strainer from the bowl first.
How do I take it out, and how often should I check it?
It lifts out by hand, or with the extraction tool, and a new one drops in the same way. Inspect the seal around 6 to 12 months in service and replace only as needed.
Measured? Pick your size.
Every model ships free in the US. For multi-site rollouts and bulk orders, request a quote.